As a homeowner, drywall repairs are something that you will eventually have to deal with. And although it may seem impossible to get your wall back to its original condition, with this guide, you’ll be able to fix any hole or dent in your drywall like a pro! It will go over everything you need to know, from selecting the right tools to patching and painting. So whether you’ve got a small hole from a doorknob or a large gash from a moving mishap, this post has got you covered. Read on for some top tips on how to repair drywall!
Understanding The Different Types Of Drywall Patches

Home repair involving drywall is a common necessity, and no matter the scope of the project, understanding the different types of patches can be essential. Considering the size of your project and what damage has been sustained by your walls can help you make an informed decision on the type of patch you may need to use. Small holes, for example, may require a pre-mixed compound that can be easily applied using a putty knife or drywall pan.
On the other hand, large holes might demand an actual new piece of drywall, which provides structural stability and a more seamless final look. With larger patches, you will need mesh tape and joint compound (also known as spackle or drywall mud) to create a strong and structurally sound repair.
Supplies You Need For A Drywall Repair

Repairing drywall requires you to have certain supplies on hand. While the exact supplies may vary according to the type of repair, in general, you need a sheet of drywall and a couple types of joint compound (Quick Set Powder and All Purpose Compound), a utility knife, screws (or nails), a drill (or hammer), drywall saw, measuring tape, and some sturdy drywall knives. Mesh or drywall paper tape is also useful if you pat a large area. And depending on the level of finish, you will also need some sandpaper.
It’s essential to have high-quality tools when repairing, especially if you are doing the work yourself. For drywall repairs, it’s worth investing in high-quality drywall knives, such as those made by Hyde or Roberts. Make sure that the knives you choose are sturdy and have a comfortable grip, which will help you create a smooth finish.
Steps To Complete A Drywall Patch
Once you understand the type of repair you are dealing with and have all the supplies on hand, you’re ready to start repairing. The following steps will walk you through the entire project from start to finish:
Step 1: Prepare The Area

To properly prepare the area, start by sealing off any openings, such as light switches or wall sockets, so that dust can’t escape once you start cutting into the drywall. It’s also beneficial to move any furniture or decorations away from the wall you plan on repairing – even if it’s only a few feet away.
This will help ensure that everything stays clean during your repair job and make it easier for you to reach any hard-to-access areas when sanding. You should also lay down a drop cloth or other protective covering on the floor, as the dust from your drywall will inevitably fall.
Step 2: Cut Out The Damaged Section

The next step is to cut out the damaged section of drywall and remove it from the wall, typically done using a utility knife or saw (depending on how deep into the wall you need to cut). Be sure that you have a firm grip on the drywall and are cutting away from your body, as it can be easy to cut yourself or damage other parts of the wall if you aren’t careful.
When doing this, ensure that all the damaged drywall has been removed and that you have an area where you will easily be able to apply new drywall, i.e., cutting out a square area.
Step 3: Cutting The Patch

Once the area is ready, you will want to take some measurements to cut the new piece of drywall to fit perfectly in the opening. People choose to do this in a few different ways, but one common method is to mark the length and width of the patch on your new sheet of drywall with a pencil. Then, use a drywall saw or a utility knife to mark the cutting lines.
When cutting, hold your knife/saw at a 45-degree angle to get a nice, clean cut. As you start sawing or scoring the drywall, scoring several times before making any cuts is often helpful – this helps guide the blade and prevent accidents.
Step 4: Installing The Patch

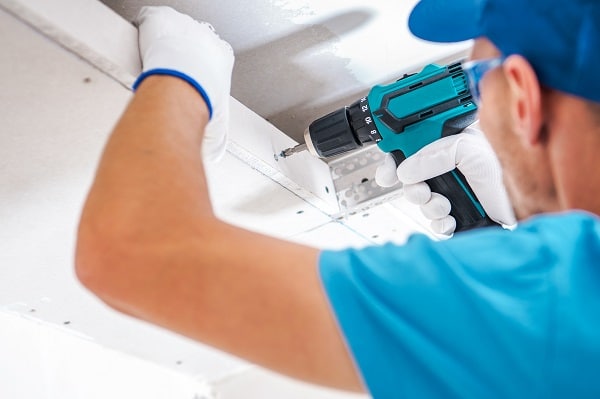
With your piece cut to the exact length and width, you can begin installing it. If there is a wall stud, simply place the patch over it and secure it with your chosen fasteners. Depending on whether your wall’s opening is revealing a wall stud, you will likely need to use screws or nails to attach the new drywall.
If the opening does not reveal a wall stud, you will have to use a piece of wood to attach the patch to. Simply cut a piece of wood about 1-2 inches longer and heavier than the gap in your wall, then attach it using nails or screws.
Step 5: Taping The Patch

First, you will want to pre-fill all the different edges of the patch with your quick-setting drywall compound and drywall knives. You will need to take your drywall tape and tap the joints between the patch and the wall’s existing surface. Once this dries, you can apply your mesh tape over the seams, followed by another thin layer of quick-setting compound.
When doing this, smooth out the tape and compound as you go to avoid any bumps or lumps.
Step 6: Applying A Second Coat

This next phase is where you will want to focus on the finishing touches of your repair. For this, you will need to apply one or more layers of all-purpose compound to the surface of your patch and surrounding areas. You will want to use a larger drywall knife (10-12 inches) to apply the new coat and smooth it out as you go. As you’re doing this, try to use smooth and even motions to create a seamless look.
Step 7: Sand The Compound

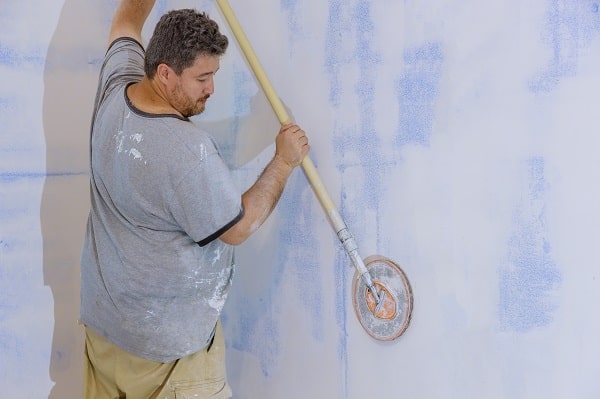
Once your second coat has dried completely, you will want to sand it down as smoothly as possible. To do this, use either an orbital sander or sandpaper (depending on your patch size), applying light but consistent pressure to the patches as you go. This will help create a nice, even surface and remove any imperfections or bumps that may be visible on the surface. Just keep in mind that you don’t want to sand down too far, or you risk exposing the mesh tape.
Step 8: Texture The Patch

This step will be a little tricky but is vital to making your drywall repair look as seamless and professional as possible. Depending on your wall texture type, this stage can vary widely. But for the sake of this article, let’s go with orange peel, as this is the most common drywall texture you will find.
You will want to purchase a can of orange peel texture spray from a hardware store to apply orange peel. Then before you apply it, you will want to wet the edges of your drywall repair with water, which will help the texture blend into your existing wall instead of looking like a separate patch.
Once you have primed the edges with water, go ahead and apply your texture spray as instructed on the can’s label. The spray may require several layers depending on how much coverage you need to create, so be sure to let each layer dry completely before applying another one.
Step 9: Paint The Patch

The final step in repairing a drywall patch is to paint it. Before you do this, be sure to allow your texture spray and joint compound to completely dry so that there are no bumps or ridges on the surface of your repair. Once everything has dried, apply a coat of primer to the entire surface of your patch (and any nearby areas that need paint touch-ups), followed by a top coat of your chosen paint color.
Follow This Guide To Drywall Repairs!
If you follow these steps, you can do a professional-quality drywall repair in your home. Remember to take the time to prep and plan your patch before beginning, as this will help make the overall process easier and ensure that your repair is done correctly. And if you run into any problems along the way, don’t be afraid to seek advice or professional help from a contractor or repair expert. They can handle even the most unique types of patches and textures!


