Skip to content

How To Re-grout Your Bathroom Tile

When it comes to making your Bathroom Tile look revitalized and refreshed, re-grouting your tile is one of the most effective ways to achieve this. Whether you are looking for a minor refresh or an overhaul of your entire bathroom, learning how to do it yourself can be a rewarding and cost-effective process that will provide long-lasting results. So if you are ready to improve your home’s aesthetic, let’s dive in! In this blog post, we will present a step-by-step guide for re-grouting your tiled bathroom surfaces. We will walk you through each step from start to finish so that after reading this blog post, you’ll be able to confidently tackle the task with ease.

Prepare The Area – Remove Old Grout, Clean Out Joints, And Vacuum Excess Dust

Bathroom Tile

When it comes to completing any home renovation project, preparation is key. This holds especially true when it comes to re-grouting tiles. To ensure a successful and long-lasting tile job, properly preparing the area is essential. This means removing old grout, cleaning out joints, and vacuuming any excess dust that could interfere with the new grout’s adhesion. Taking the time to complete these necessary steps will ensure a clean and professional-looking finish and prevent any future issues with your tile project. So, roll up your sleeves, grab your tools, and get to work on preparing your grout for its next layer of perfection.

Select The Right Grout For Your Tile Type – Different Types Of Tiles Require Different Types Of Grouts And Adhesives

Bathroom Tile

Choosing the suitable grout for your tile may seem like a minor detail, but it can greatly affect your tiling project’s overall outcome and longevity. Different types of tiles require different types of grouts and adhesives, from ceramic to natural stone to glass. Ceramic tiles are generally paired with a cement-based grout, while natural stone tiles may require a special epoxy-based grout to prevent staining and cracking. Researching and consulting a professional is essential to ensure you are using the right grout for your particular tile type. By selecting the proper grout, you can ensure your tiles look beautiful and last for years to come.

Prepare The Grout Mix According To The Instructions On The Package 

Bathroom Tile

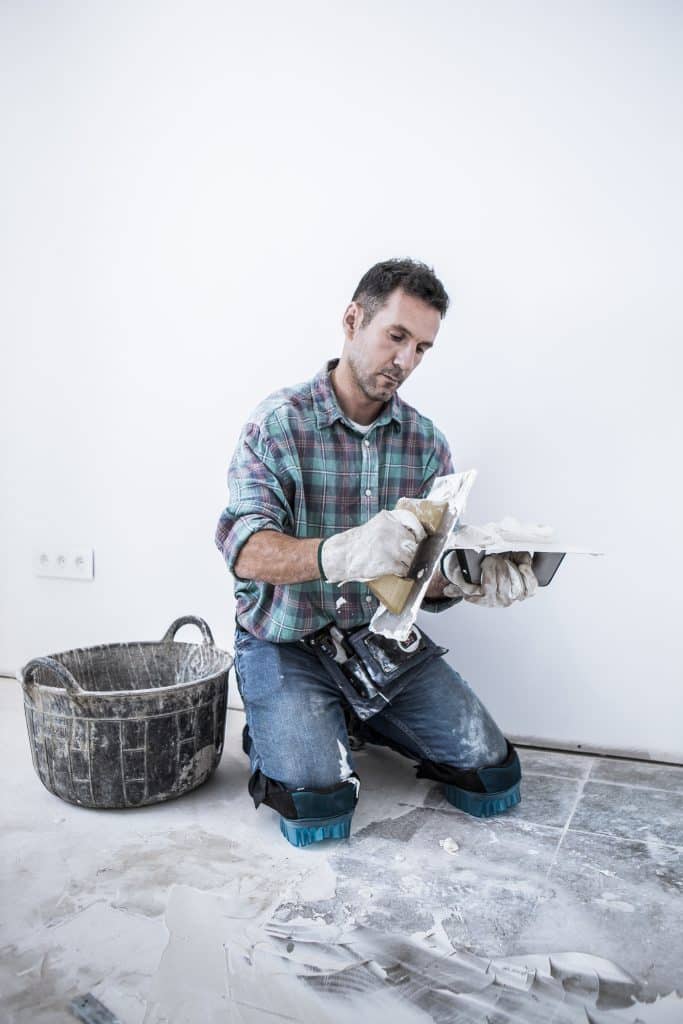
Getting ready to tile your bathroom or kitchen can be an exciting DIY project, but it is essential to ensure you are doing it correctly. When it comes to preparing the grout mix, it’s necessary to follow the instructions on the package carefully to ensure that your tiles look their best and last for years to come. Failing to mix the grout properly may result in uneven coloring, cracking, or even the tiles falling off the wall! With a bit of patience and attention to detail, you will be able to create a beautiful tiled space that you will be proud to show off to your friends and family.

Apply The Grout – Use A Rubber Float To Spread It Evenly Between The Tiles 

Bathroom Tile

Applying the grout can often feel like the last long stretch of a tiling renovation. But by following a few simple steps can also be one of the most rewarding parts. One of the most important things to remember is to use a rubber float to spread the grout evenly between the tiles. This will ensure that each crevice is filled completely, leaving you with a finished product that will impress your guests for years to come. So, take your time and enjoy the final stages of your tile renovation. With a bit of patience and attention to detail, you’ll be able to achieve a stunning look that will make all of your hard work worth it.

Allow The Grout To Dry For 24 Hours Before Sealing And Waxing 

Bathroom Tile

A crucial step in any tiling project is grouting, which involves filling the gaps between tiles with a cement-like substance. But what many people may not know is that allowing the grout to dry completely is just as important as applying it accurately. Whether you are sealing your tiles against moisture or waxing them for added shine, it is essential to give the grout at least 24 hours to dry before moving on to the next step. Rushing this process can result in unevenness, cracking, or even discoloration over time. So be patient and let that grout dry until it is hard as a rock before you move on to the next phase of your project.

Give A Final Touch – Seal And Wax Your Tiles To Give Them A Glossy Finish And Make Them Easier To Clean In The Future

Bathroom Tile

Tiles are the perfect addition to any home – they are durable, versatile, and come in a range of beautiful designs. However, maintaining their shine and cleanliness can be a chore. To give your tiles that final touch and ensure they remain looking beautiful for years to come, try sealing and waxing them. This simple process seals the porous surface of the tiles, protecting them against dirt, stains, and spills, and creates a glossy finish that will truly make them shine. Not only does this make them easier to clean in the future, but it also adds a luxurious touch to your home decor. So why wait? Seal and wax your tiles today and enjoy their beauty and durability for years to come.

Summary 

Re-grouting your bathroom tile can seem daunting, but following the steps outlined in this post, you can give your bathroom a brand-new-looking floor. By properly prepping the area, selecting the correct grout, mixing it correctly, and applying it, your bathroom tile will be restored to its original beauty in no time. Be sure to allow 24 hours for the grout to dry before sealing and waxing your tiles. After properly completing all of these tasks, you will have a beautiful finish that is easy to care for. With successful re-grouting comes the satisfaction that you have achieved something beautiful and are now able to experience a sense of accomplishment.